A dynamic exercise that can take your strength training regimen to new heights is the kettlebell clean. With its distinct shape and weight distribution, the kettlebell is not your average piece of exercise equipment. It has several advantages, such as helping prevent injuries and improving muscle strength and conditioning. To fully utilize these benefits and reduce the chance of pain or damage, the maneuver calls for an appropriate technique. This detailed tutorial delves further into the method, providing pointers to enhance your form and clean your kettlebell to a whole new level.
Understanding the Fundamentals of the Kettlebell Clean
At first glance, you could mistake the kettlebell workout for just one in a long line of weightlifting exercises, yet its value extends far beyond its simplicity. It’s a unique movement that stands distinct from other kettlebell exercises – a complete package offering a symphony of strength development, cardiovascular conditioning, and skill building. But what makes it a standout?
An Exercise for Elite Efficiency
The key component that sets this exercise apart is its potent efficiency. In one swift motion, you’re able to work multiple muscle groups and keep your heart rate high. Simultaneously, it bridges the gap between cardiovascular exercise and strength training. But that’s not where its advantages end.
A Strength Booster and More
Beyond a doubt, an improved strength quotient lies at the center of the clean’s numerous boons. However, this move doesn’t solely target one or two muscles. Instead, it works on various muscles from the legs to the core and up to the shoulders, making it a great full-body workout.
Enhanced Conditioning Sans Boredom
Working out the same old way can turn your fitness regimen into a monotonous routine. With the kettlebell haul, though, there’s seldom a dull moment. As you build strength, you’re also enhancing your conditioning. The explosive, swift nature of the movement is sure to keep your heart rate elevated, all while burning calories and working your muscles.
Unparalleled Versatility for Every Athlete
You’ll be hard-pressed to find limits on who can benefit from this exercise. It’s an incredibly adaptable movement that fits seamlessly into different workout regimes. Whether you’re a cross-training enthusiast, marathon runner, or weekend fitness warrior, mastering the kettlebell haul is a worthwhile investment of your time and effort.
A Pathway for Progressive Movements
The nature of the kettlebell haul sets the stage for other compound movements. It’s the perfect introduction to more complex kettlebell moves, helping you master the rhythm, timing, and form that you’ll need for exercises.
Grip and Stance: Laying the Groundwork for Success
Imagine constructing a house. Without a solid foundation, no matter how beautifully designed or intricately decorated, it would crumble under the slightest pressure. Similarly, when it comes to mastering this kettlebell exercise, getting your grip and stance right sets the stage for everything that follows. It’s all about laying a sturdy groundwork to build strength and efficiency. Let’s get into how you can set this foundation with confidence.
The Art of the Grip
Grabbing a kettlebell may seem straightforward, but there’s an art to it, especially when preparing for this movement. Here’s how to perfect your grip:
- Find Your Sweet Spot: The handle of the kettlebell shouldn’t be gripped dead center but rather slightly off to one side. This subtlety allows for smoother movement during the clean.
- Hook, Not Grasp: Think of your fingers as hooks. You’re not suffocating the handle in a death grip. A relaxed yet firm hook-like grip allows for the kettlebell to rotate freely into the rack position without straining your wrists.
Planting Your Feet
The stance is just as crucial as the grip. It’s the base that determines the power and efficiency of your move. Here’s how to ensure your feet are planted just right:
- Shoulder Width is Key: Standing with your feet shoulder-width apart is ideal. This stance gives you a balanced base that’s not too narrow, making you unstable or too wide, reducing your ability to generate power.
- Slightly Point Those Toes: A slight outward turn of your toes can make a big difference in how comfortably you sink into the move and transition through it. It allows for better knee alignment and a fuller range of motion.
The Significance of Getting It Right
Why all the fuss about grip and stance, you might wonder? Here’s a breakdown:
- Power & Efficiency: The right stance allows you to effectively channel power from your lower body through to the lift, making the move fluid and efficient.
- Injury Prevention: A solid grip and balanced stance minimize the risk of common injuries, like strains or pulled muscles, by ensuring that the body moves as a cohesive unit.
- Building on Basics: As the foundational elements, a perfected grip and stance pave the way for more advanced moves. Without them, progressing safely and effectively through your kettlebell journey becomes challenging.
Bearing these tips in mind, take the time to practice your grip and stance even before you add the dynamic aspect of the lift into your routine. Like any skill worth mastering, it takes patience and practice.
Mastering the Kettlebell Clean: A Step-by-Step Breakdown
Tackling the clean might seem daunting at first glance, with its swift movements and need for precision. But, like learning to ride a bike, once you grasp each part of the process, it becomes second nature. Let’s break it down into manageable, bite-sized steps. By the end, you’ll be well on your way to executing this dynamic move with confidence and ease.
Starting Line: The Swing Initiation
- Position Your Feet and Grip: Begin with your feet planted shoulder-width apart, toes slightly pointing out. With the kettlebell between your feet, grasp the handle off-center towards you, using that hook grip we talked about earlier.
- Hike the Bell: With your back flat, flex slightly at the knees and hinge at the hips. Using your hips to create momentum, swing the kettlebell back and between your legs, just like you would while trekking a football. Here’s where you start swinging.
Building Momentum: The Uphill
- Drive Through Your Hips: Drive through your hips explosively to move the kettlebell up and forward. Maintain your arm’s proximity to your body as the weight increases. Your hips, not your arms, are where the power is.
- The Transition: As the kettlebell rises to chest height, prepare for the transition. This is the make-or-break moment where precision counts.
The Catch: Securing the Position
- Rotate and Rack: As the kettlebell reaches its peak near chest height, rotate your wrist. This rotation allows the kettlebell to land gently on your forearm in the front rack position – wrist straight, kettlebell resting comfortably against your forearm and shoulder.
Absorb with Ease: Bend your knees slightly to absorb the impact. Your elbow should be down and in front of you, with the kettlebell sitting snugly against your arm and chest, as if you’re cradling it.
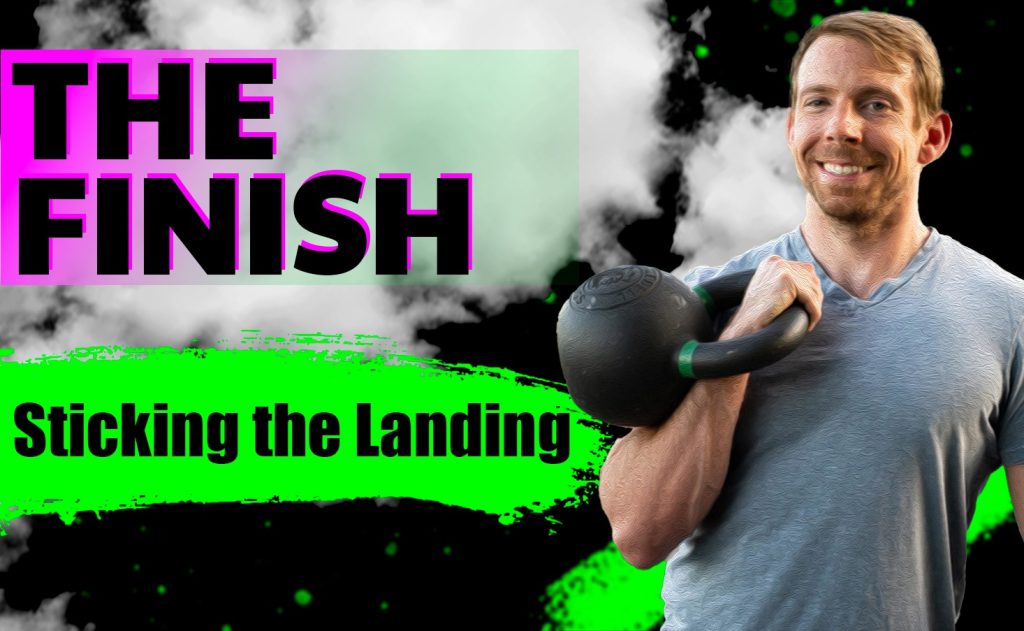
The Finish: Sticking the Landing
- Pause and Assess: Hold the front rack position momentarily. This isn’t just a pause; it’s an opportunity to check in with your form. Ensure your wrist is straight, your core is engaged, and your shoulder is packed – ready for whatever comes next.
- Reset with Control: From the front rack position, ready yourself to either proceed with another move or return the kettlebell to the starting position. Lower it by reversing the motion, swinging through the legs if you’re going for another clean.
Avoiding Pitfalls: Navigating Common Missteps in Your Routine
Embarking on the journey of kettlebell training is like setting sail on choppy seas – there will be waves and there may sometimes be missteps. It’s natural! However, by being aware of typical blunders, you may steer clear of them and guarantee a safer and more efficient workout. Let’s examine some common mistakes and how to avoid them.
The Loosey-Goosey Grip
Many new athletes have an overly relaxed grip when they first take on this lift. This may lead to the kettlebell flopping around, which can strain the wrist and forearm.
Tip for Traction: Think of your grip like shaking someone’s hand – not a wimpy one, but also not a grip contest. Find that middle ground. Keep it secure, but don’t strangle the handle. Remembering to ‘hook’ rather than clutch the handle will keep the kettlebell in line.
The Arm Wrestler Syndrome
Then there’s the mistake of muscling up the weight predominately with the arm, treating the lift more like a curl. This error often results in a lack of fluidity and can cause excessive strain on the arm and shoulder.
The Flex Fix: Trust your hips to do the heavy lifting. Practice the motion without the kettlebell to get a feel for the hip drive that gives you the power. This hip action, not your bicep curling power, should be what brings the weight up.
The Bang and Bruise
Another hiccup that’s common among learners is banging the wrist during the catch portion of the lift. This can feel more like punishment than exercise, leading to bruised forearms and a reluctance to persist with the move.
Bracing for a Soft Landing: As you guide the weight up, aim to rotate your hand around the handle, think of turning a doorknob. This way, rather than the kettlebell crashing onto your wrist, it will rotate around your hand and land softly against the back of your forearm.
The Swing and a Miss
Some folks give it their all in terms of a swing, making this look like a circus act rather than a clean lift. An excessively wide swing isn’t just inefficient – it sets you up for inconsistent lifts and potential back strain.
Path of Control: It’s crucial to keep the weight close to your body. Picture an imaginary straight line the weight needs to travel along. Swing through your legs just enough to generate power, but keep the path of the kettlebell as vertical as possible.
The Rushed Finish
Finally, many rush through the motion, swiftly forgetting the need to secure the weight in the rack position. A flustered or incomplete finish can throw off balance and diminish the impact of the exercise.
Pause with Purpose: Once the kettlebell reaches the front rack position, take a brief moment. Make sure your wrist is straight, the kettlebell is secured in place, and you’re stable. This ensures you’re set up properly for your next move.
Crafting a Complete Workout: Incorporating the KB Clean and Press
When it comes to kettlebell training, diversity is your ally. Not only do variations keep your workouts exciting, but they target different muscle groups, ensuring a balanced strength regime. Introducing the Clean and Press into your routine is a stellar way to get a comprehensive workout. It marries the fluid, hip-based movement of the clean with an overhead push, engaging everything from your legs to your shoulders.
Segueing from Clean to Press: The Journey Upwards
- Master the Clean: Kickstart with the clean. Ensure your grip, swing, and landing in the front rack position are as smooth as butter. Hold that kettlebell close to your chest, your shoulder packed. Your feet should be grounded and your core braced; you’re ready to reach for the stars.
- Steady the Transition: Transitioning from the clean to the press is all about stability. Before you start the press part, perform a brief stability check. Make sure your feet are planted shoulder-width apart, your core is engaged, and the kettlebell is comfortably resting against your forearm and shoulder.
- Press to the Sky: Now, with a powerful yet controlled motion, press the kettlebell overhead. Give this motion to your shoulder. Don’t rush it; your goal is to get the weight straight overhead until your arm is fully extended. Make sure your movements are steady and under control.
- The Descent: Lowering the kettlebell is just as crucial as the ascent. Ensure you maintain control as you slowly return the weight to the front rack position. Remember, technique trumps speed.
Tailoring the Move: Adapting to Your Routine
The KB clean and press combination is an adaptable addition to your training regime, no matter your fitness level or goals. Here are a few ways to weave it into your routine:
- Adding Volume: If you’re chasing stamina and endurance, consider adding volume to your lifts. Aim for a higher number of reps with a comfortable weight. This method will surely get your heart rate up and muscles engaged.
- Boosting Intensity: For those seeking strength and power, increase the load. Go for a heavier kettlebell but reduce your repetitions. Remember, when increasing weight, form is paramount. No need to rush.
- Merging Moves: You can also incorporate the Clean and Press into full-body workout days. Merge it with swings, squats, or lunges for a well-rounded session that targets multiple muscle groups.
Moving from the clean to the overhead press is like climbing a mountain: you build momentum from the base and power through till you unfurl your flag at the summit. It’s a journey of strength, control, and finesse. Whether you’re looking to expand your kettlebell skills, improve total-body strength, or simply sprinkle novelty into your regime, the Clean and Press is an exceptional tool in your fitness repertoire.
The Action Plan: Workouts to Bring Your Kettlebell Clean to Life
So, you’ve got the grip, the swing, even the landing of your clean down pat. Now for the exciting part: implementing it. It’s time to get on the dance floor now that you know the moves. Let’s explore several exercise plans that incorporate this dynamic exercise for varying degrees of fitness.
Stepping Up: The Beginner’s Blend
This workout is perfect for those new to the kettlebell scene, or simply looking to get into a rhythm with their clean technique.
- Swing into Action: Start with classic kettlebell swings. Do 10 swings to get your body warmed up and ready for the larger movements to follow.
- Easy Does It – The Clean: Now, aiming for control rather than speed, perform five clean lifts on each side. This helps to build muscle memory while keeping the heart pumping.
- Slow and Steady Squats: Transition into bodyweight squats to give your grip a brief rest. Aim for 15 squats to keep the momentum high.
- Back to the Bell: Repeat the sequence three times. This varied routine gets you practicing your clean while maintaining a high energy level throughout.
Navigating the Midway: The Intermediate Influence
This routine is ideal for those who are comfortable with the clean and ready to crank up the complexity and intensity a notch.
- Duo Dynamics – Swing and Clean: Begin with five swings, then without breaking the sequence, shift into five cleans on each side. This sequence helps you fine-tune your transitions and increase your hip-drive power.
- The Squat Press: Next, move to squat presses for an added strength component. Do five squat presses on each side.
- Clean and Lunge Combo: Now back to the kettlebell with a clean and lunge combination. Perform the clean, and while the kettlebell rests on your forearm, execute a front lunge. Repeat this five times on each side.
- The Sweat Circuit: Run through this circuit three times. The alternating exercises challenge various muscle groups and continue to hone your clean technique amid a taxing sequence.
Conquering the Peak: The Advanced Ascent
This intense workout is designed for those ready to push their fitness boundaries, incorporating advanced techniques and a higher volume.
- Clean, Press, and Squat Trio: Begin your workout with five repetitions of a clean, followed by a press, ending with a squat. That counts as one rep. The combo will test your endurance and strength, making for an absolute full-body workout.
- Turkish Get-Ups: Move over to Turkish Get-ups, which carry a complexity of their own. Do two reps on each side.
- The Finale Finisher – Clean to Windmill: Complete your sequence with a clean followed by a windmill for a total of five reps on each side.
- The Strength Cycle: Pulse through the cycle three times. These exercises will induce a sweat and challenge your skills, taking your kettlebell training to the max.
Remember, these workout routines are just a guide. Feel free to adjust the number of repetitions or sequences based on your comfort level. The main goal is to remain consistent, maintain proper form, and, most importantly, enjoy your fitness journey. So grab your kettlebell and get moving!